Pumpkin Hat Pattern
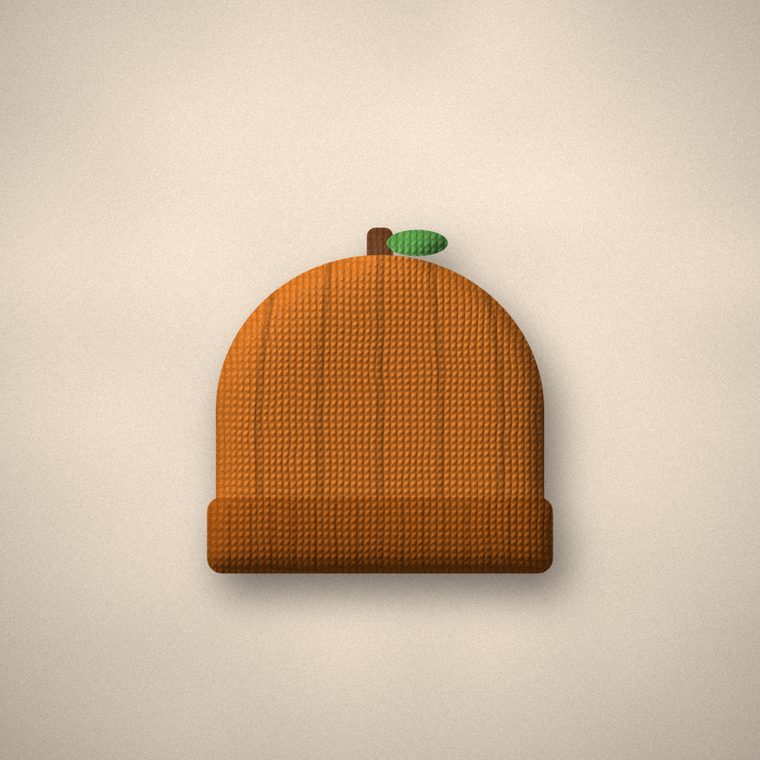
An orange pumpkin hat with a stem and leaf. Perfect for babies' first autumn photos.
- Type
- Hat
- Sizes
- Baby to adult L
- Yarn
- Worsted (#4)
- Hook
- 5.5 mm (I-9)
Gauge: 14 dc and 8 rounds = 4 in (10 cm). If yours is different, the hat size calculator gives exact numbers for any head and gauge.
Yarn: about 90 yd (baby) to 200 yd (adult L) of worsted.
An orange pumpkin hat with a stem and leaf. Perfect for babies' first autumn photos.
Size chart
| Size | Baby (3–6 m) | Toddler | Child | Adult | Adult L |
|---|---|---|---|---|---|
| Head size | 16 in | 18.5 in | 19.5 in | 22 in | 23 in |
| Hat circumference | 14.4 in | 16.7 in | 17.6 in | 19.8 in | 20.7 in |
| Increase rounds | 1–4 | 1–5 | 1–5 | 1–6 | 1–6 |
| Stitches after increases | 48 | 60 | 60 | 72 | 72 |
| Even rounds | 5–11 | 6–13 | 6–13 | 7–15 | 7–16 |
| Brim rounds | 2 | 2 | 3 | 3 | 3 |
| Total height | 6.5 in | 7.5 in | 8.0 in | 9.0 in | 9.5 in |
Pattern (US terms)
Abbreviations: ch = chain, sc = single crochet, hdc = half double crochet, dc = double crochet, tr = treble, fpdc/bpdc = front/back post double crochet, st = stitch, inc = increase, dec / sc2tog = decrease.
- Round 1: magic ring, ch 2 (doesn't count as a stitch), 12 dc in the ring, join with a sl st. (12)
- Round 2: ch 2, 2 dc in each st around, join. (24)
- Round 3: ch 2, *dc in next st, 2 dc in next st; repeat around, join. (36)
- Next increase rounds: keep adding 12 stitches every round, working one more dc between increases each time, until you reach the increase rounds and stitch count for your size.
- Even rounds: ch 2, dc in each st around, join. Repeat for the even rounds in the table.
- Brim: ch 2, *fpdc around next st, bpdc around next st; repeat around, join. Work the brim rounds for your size. Fasten off and weave in ends.
- Ribs: with darker orange, surface slip stitch 8 lines from the top to the brim to divide the hat into pumpkin sections.
- Stem (brown): magic ring, 6 sc, then sc around for 5 rounds. Sew to the top. Leaf (green): ch 9, starting in the 2nd ch from the hook: sc, hdc, dc, tr, tr, dc, hdc, sc. Sew next to the stem.
More free patterns
All 50 hats & beaniesYou might also like
This is an original HookMath pattern. You're welcome to make and sell finished items; please don't resell the pattern itself. See all free patterns →